 Surya Prarap Singh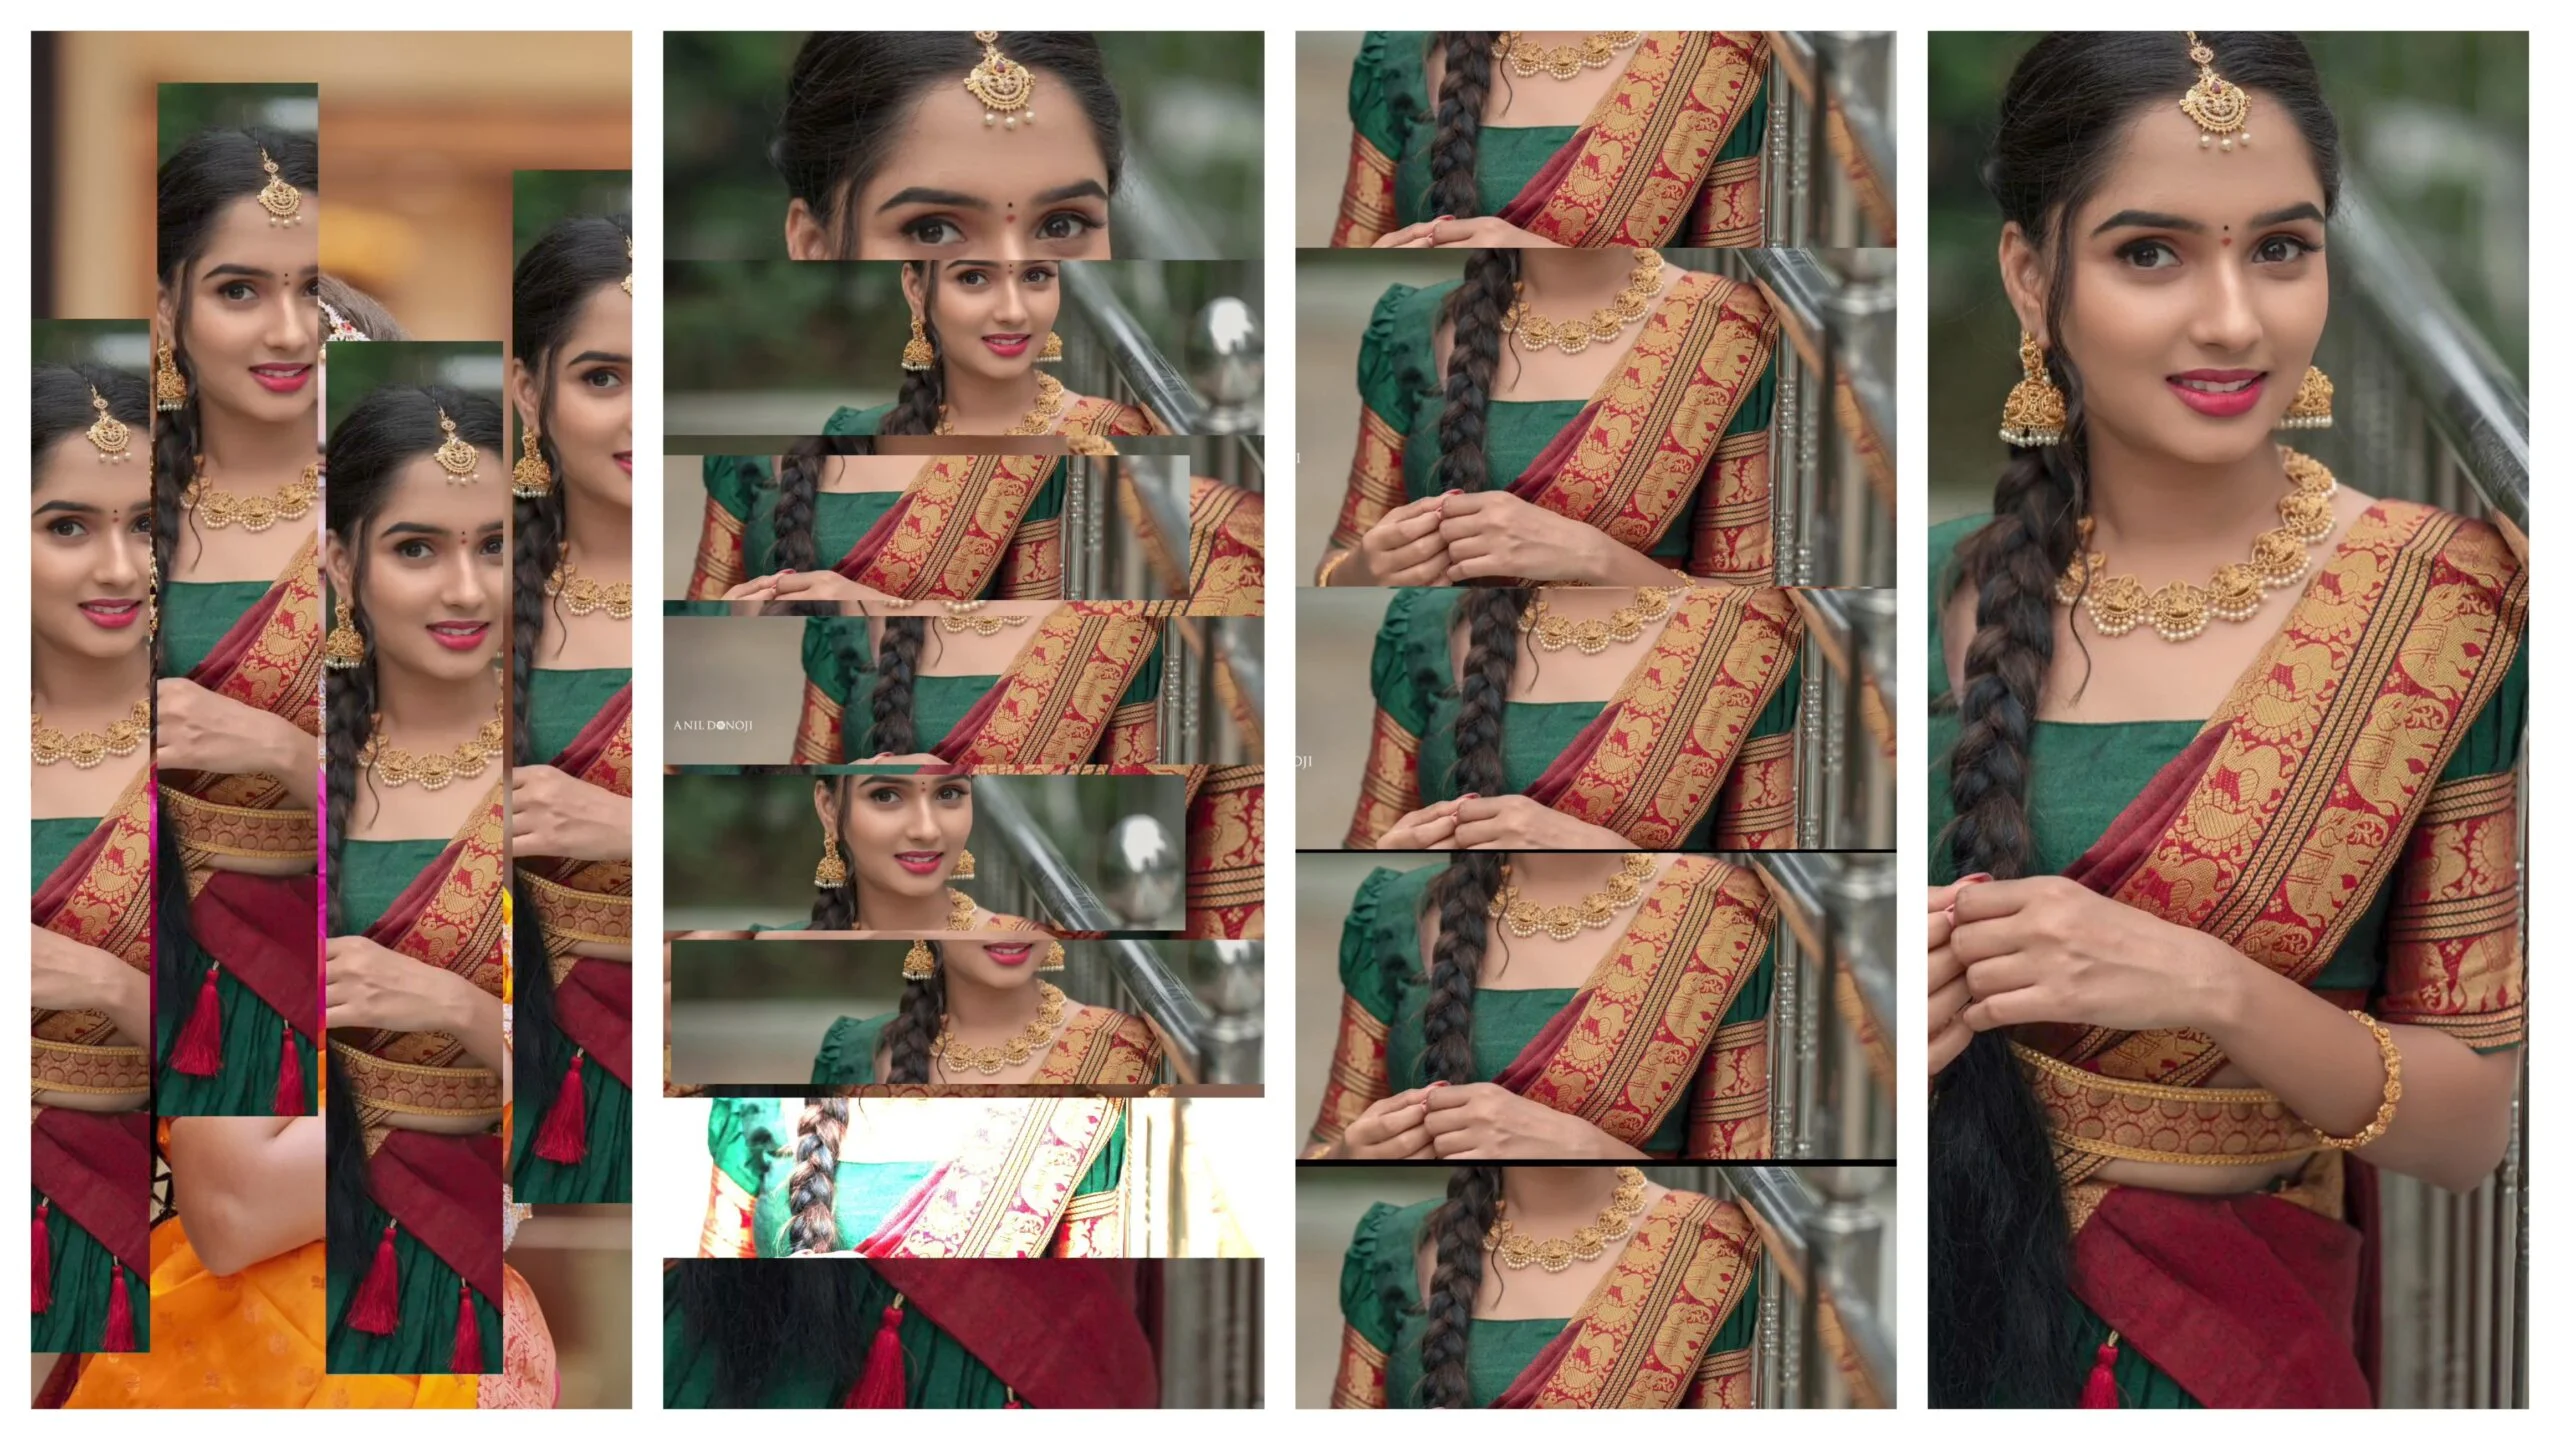
If you have spent even five minutes scrolling through Instagram Reels lately, you have definitely seen them: ultra-smooth, fast-paced transition edits featuring outfit changes, aesthetic portraits, beat-synced whips, and high-energy zoom cuts.
While tools like CapCut or InShot offer quick one-tap templates, serious video editors know that Alight Motion is where the real magic happens. With keyframe graphs, custom XML presets, motion blur, and professional masking tools, Alight Motion lets you craft the exact high-end look that stops viewers from scrolling.
Whether you are editing your own aesthetic clips or building edit videos for a fan page, here is a complete breakdown of how to create viral-worthy transition reels in Alight Motion from scratch.
Why Alight Motion Is the King of Mobile Transition Edits
Before diving into the steps, it helps to understand why top Instagram editors prefer Alight Motion over simpler apps:
- Custom Easing Graphs: Instead of robotic, linear movements, you can customize velocity curves so transitions feel buttery smooth.
- Layer Masking & Color Grading: You can separate subject backgrounds, add glow effects, and apply cinematic color lookup tables (LUTs).
- XML Presets: Editors can export and share preset files, making it easy to swap clips into complex motion projects.
What You Need Before You Start
Great transition edits begin before you even open the app. To make your edit look effortless, gather your assets first:
- High-Quality Clips or Photos: Use crisp, 1080p or 4K videos/photos (preferably shot in good lighting).
- A Trending Audio Track: Download the audio from an active Instagram trend or screen-record it to extract the audio layer in Alight Motion.
- Alight Motion Installed: Ensure you have motion blur enabled in your settings for cleaner transitions.
Step 1: Set Up Your Project & Sync the Beat Marks
The secret to a viral transition edit is timing. If your transitions miss the beat by even two frames, the impact drops significantly.
- Open Alight Motion and tap the
+icon at the bottom. - Choose 9:16 aspect ratio (standard for Instagram Reels) and set your frame rate to 60 FPS for the smoothest motion playback.
- Import your chosen song or extracted audio track.
- Listen closely to the audio and place Bookmarking Markers (tap the timestamp bar) right on every heavy drum hit, bass drop, or snap where you want the transition to happen.
Step 2: Crop & Align Your Footage
Import your video clips or portrait photos. Align each cut directly with your beat markers.
Pro Tip: Keep your subject’s eyes or head in roughly the same position across every cut. This technique, known as Match Cutting, tricks the viewer’s eyes and makes rapid transitions feel seamless rather than jarring.
Step 3: Master the 3 Most Popular Transition Effects
To build a captivating trend edit, combine two or three distinct transition styles throughout the video:
1. The Dynamic Smooth Zoom (In/Out)
This is the staple of almost every viral edit.
- Select your first clip and navigate to Move & Transform > Zoom/Scale.
- Add a keyframe near the end of the clip at default size.
- Add a second keyframe right at the cut point and scale up significantly (e.g., 150–200%).
- The Secret (Graph): Open the graph editor between those two keyframes and pull the curve downward in a fast steep slope.
- On the next clip, start zoomed in at the first frame and keyframe it back down to normal scale with an upward easing graph.
2. The 3D Warp Shake
Give your beat drops maximum punch with a subtle shake effect.
- Go to Effects > Add Effect > Distortion/Warp > Tiles. Turn on Mirror.
- Next, add Oscillate under Move & Transform.
- Lower the frequency slightly and set the magnitude high at the beat marker, tapering off to zero a few frames later using keyframes.
3. Motion Blur & Glow
- Go to Effects > Blur > Motion Blur and set the intensity between
1.0and1.50. This softens the rapid keyframe movements so cuts blend together instantly.
Step 4: Add Color Grading & Aesthetic Text (Optional)
Once your base transitions are locked down, take the video’s aesthetic up a notch:
- CC (Color Correction): Add a full-screen Rectangle Shape, expand it to fill the canvas, set the color to a soft pastel or rich contrast tint, and adjust the Blending Mode to Overlay or Soft Light.
- Flash Effects: Insert a white shape layer on key beats for 2–3 frames, fading the opacity from 100% to 0% to create a punchy light flash.
- Minimalist Typography: Add clean, center-aligned text for titles, lyric captions, or social handles using subtle fade-in animations.
Step 5: Exporting for Maximum Instagram Quality
Export settings can make or break your hard work. Instagram compresses uploaded videos heavily, so use these settings to keep your edit sharp:
| Parameter | Recommended Setting |
| Format | Video (MP4) |
| Resolution | 1080p FHD |
| Frame Rate | 60 FPS (for fluid movement) |
| Bitrate | High / Custom (Around 12-15 Mbps) |
Quick Troubleshooting Tips for Beginners
- Video Lagging in Preview? Alight Motion can lag when multiple heavy effects are applied simultaneously. Hide complex adjustment layers while editing keyframes, or test-export a short segment to inspect the real-time speed.
- Transitions Feel Stiff? Re-check your keyframe curves. Linear keyframes always feel robotic; adjusting the graph handles is essential for natural velocity.
Final Thoughts
Creating viral-worthy transition reels in Alight Motion isn’t about piling on every effect available—it’s about precision, beat sync, and smooth velocity curves. Start with simple zoom cuts, nail the graph editor, and build up to complex multi-layer edits as you grow comfortable with the workflow.


)
)